One of the things about photographers, we are always trying to make the scene as beautiful as it was in person, but to be honest, without a little trickery it simply isn’t done.  So, I thought I would show you what is commonly done.

BigSur-08217
Big Sur out of camera JPG

As you can see it is very blah.  Part of the reason, is that I exposed the photograph for the sky, so ground is underexposed.  This is a very common technique because sky highlights and details are often very important.  Probably not quite as important in this photograph since the clouds are a minor component.

Our eyes when we see a scene like this in real life, will be constantly adjusting the focus and brightness as we look over the landscape.  If we look at the sky, our eyes will adjust to see the most detail.  And the same thing keeps happening as our mind and eye scan the scene.  But it doesn’t seem to happen the same way with a photograph.

So, the battle is to make the photograph look as I remember the scene in my mind.  While I want to emphasize certain things about the scene, I believe it should look real enough that people don’t respond that it is fake.  I use Adobe’s Lightroom for basic modification of photos.  The first step was to modify the photo to make the foreground and bay look as I remember.

BigSur-08217-3
First major step of the image retouching

I will not detail every step, but the major adjustments were to increase the exposure by a little more than an f-stop, increased the clarity, vibrance, and saturation.  The grasses in the foreground, look a little blue… but they were getting a lot of blue sky illumination, so this makes sense.  The same thing with the sand and water in the bay.  But, this is the way I remember it, so I am happy.

The mountain and sky beyond the bay are over exposed now.  Many times the method to fix these issues is with a gradient tool that is found in Lightroom.

BigSur-08217-2
The final picture

The main effect of the gradient tool was to reduce the exposure.  I also used a brush to bring out the clouds a little more.  The gradient started at the first ridge  and ended by the time it hit the horizon at the far mountain.  It basically took out an f-stop of exposure that was added earlier.  There is some brown in the ocean that looks a bit purple in the smaller version.  This is actually a kelp field.  When it is viewed in the larger picture, it looks a bit more realistic than it does above.

I believe this picture will become at least a 20 x 30 inch print in my office soon.  It captures a magical moment in time with my wife.  I will be posting this picture in the project section of this web site soon.  It will also be making an entry in the gallery section as well along with some other nice shots of the Big Sur area of California.

As some of you probably know, my wife and I took a vacation to California just before Memorial Day.  We had a great time and a couple ideas for blogs came up.  Today, I will start with the easier idea.

In the past I have had zero luck getting decent pictures of birds flying.  As many of you know, I shoot Sony.  Some of the naysayers of mirrorless cameras will tell you that you can’t get good pictures of moving wildlife with a mirrorless camera, or at best, it will be very difficult.

Birding2-08043
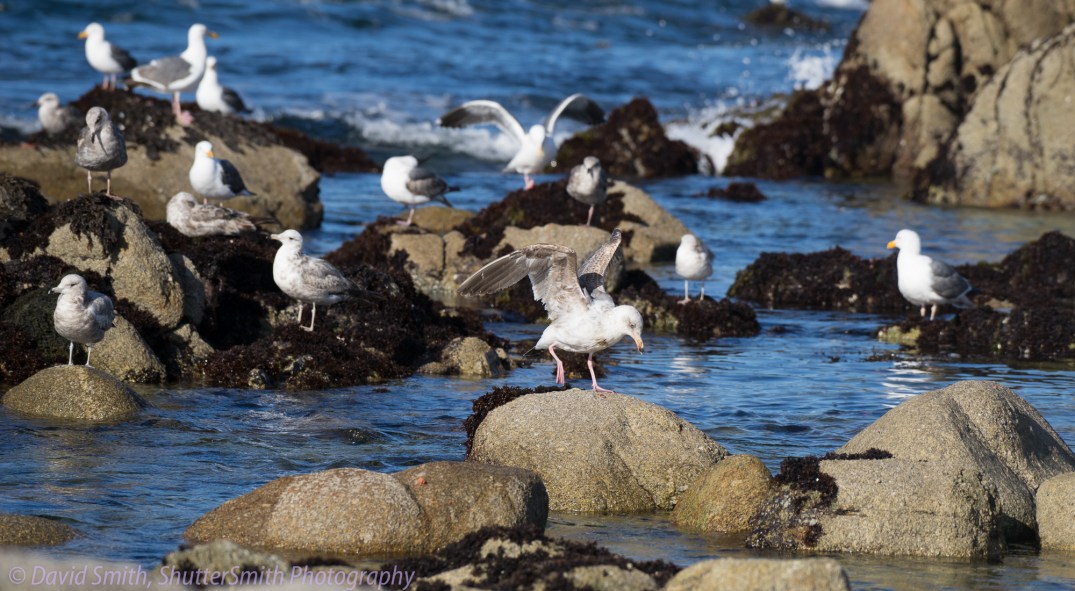
Many Seagulls near Pacific Grove, California

As you can see in the picture above there were lots of birds and it was possible to get reasonably close.  It was a beautiful day and the SeaGull is a good sized bird, so I thought, let’s try this flying bird picture thing again.

The first 8 pictures or so, were disappointing.  Then, I double checked my auto focus settings.  So, I set Zone focusing on the center area.  And set AF on continous.  I don’t believe that I used the lock-on auto focus.  I moved the ISO to 200 and shot in Aperture Priority at 5.6.  Shutter times went from about 1/500 to 1/2500th of a second depending on how many rocks were in the picture.  I also set my panning 70-200mm lens to a panning mode.  I believe it disables the horizontal stabilization when in this mode.

I had the camera set in continuous shooting at 2.5 frames per second.  While it would be nice to have a little more speed.  I assume the pictures below are about a half second apart and does a decent job of showing the process.  My camera can go to 5 frames/sec, but I don’t believe it refocuses between frames at this speed.

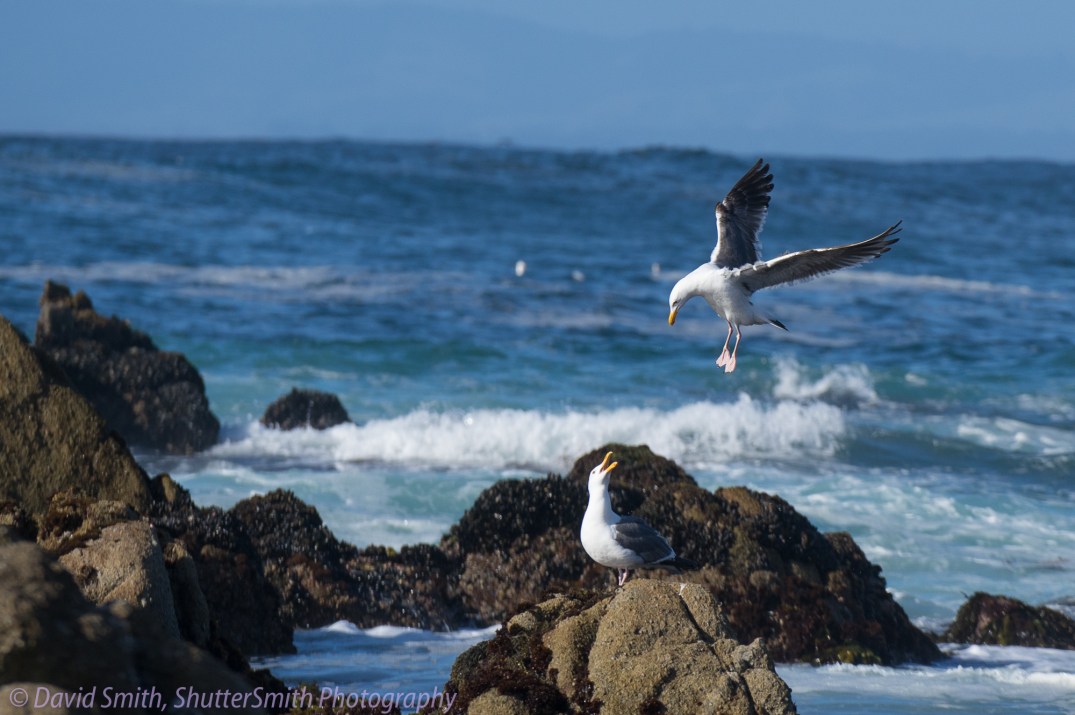
Birding-08002
Coming in for a landing, with a greeting committee
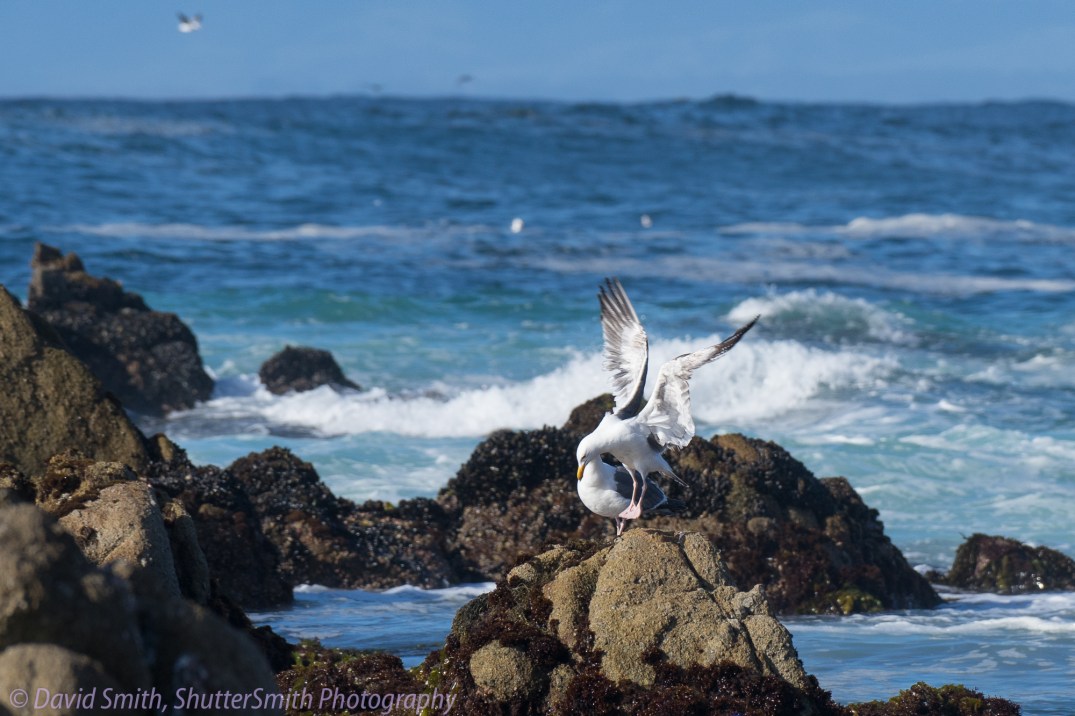
Birding-08003
just before touching down

Another Landing, this one was pretty close to me and isn’t cropped real heavily.

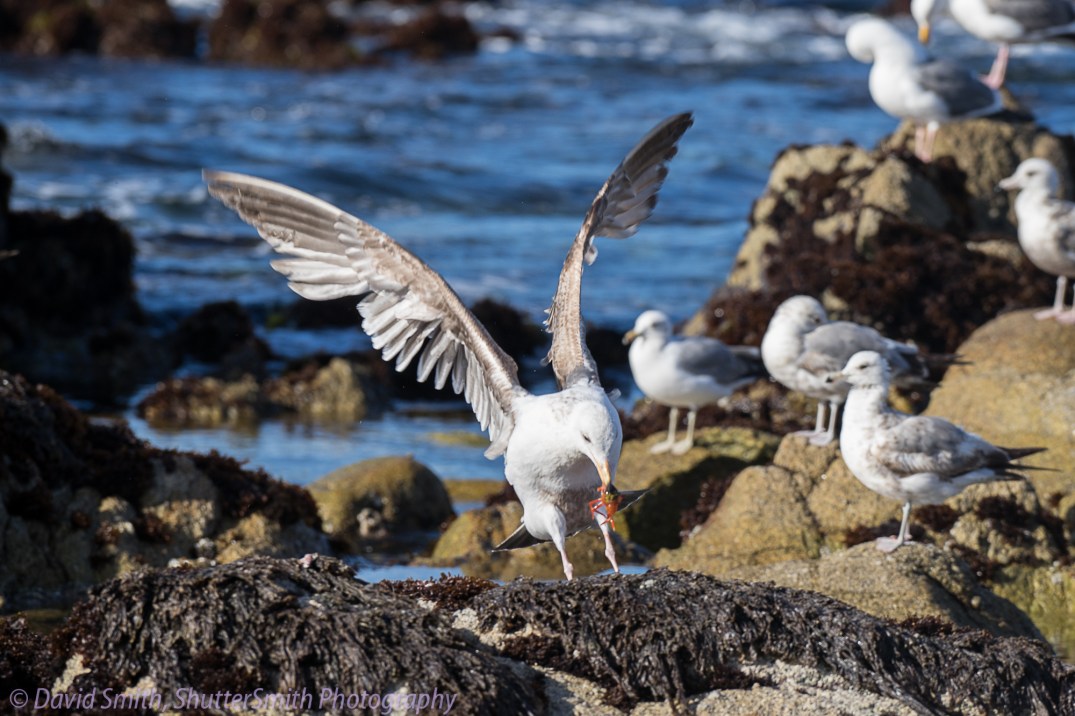
Birding-08021
The air brakes are on with a prized catch
Birding3-08022
A half second later.  There is some evidence of camera shake.

The last shot was a 1/500th of a second and shows some camera shake.  From the original file, I can see that I moved a ways in that half second, nearly a third to a fourth of a frame.

What about birds in flight?

Birding-08006
Flying over head.  I love the shape of their wings.
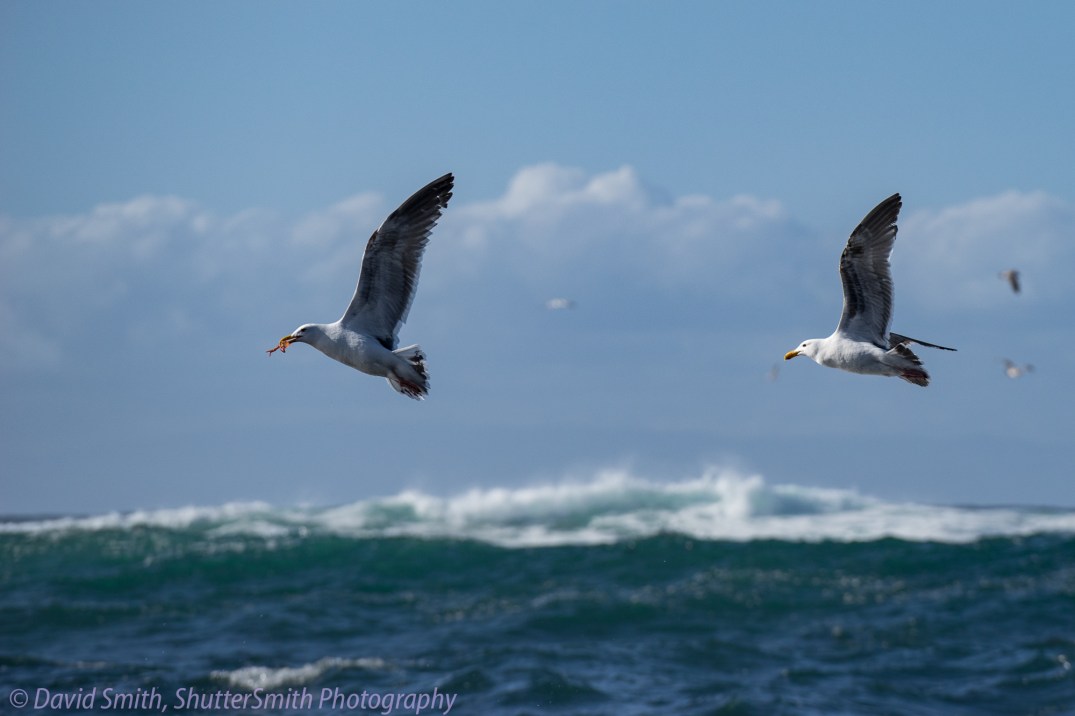
Birding-08009
One with food, one without…
Birding-08032
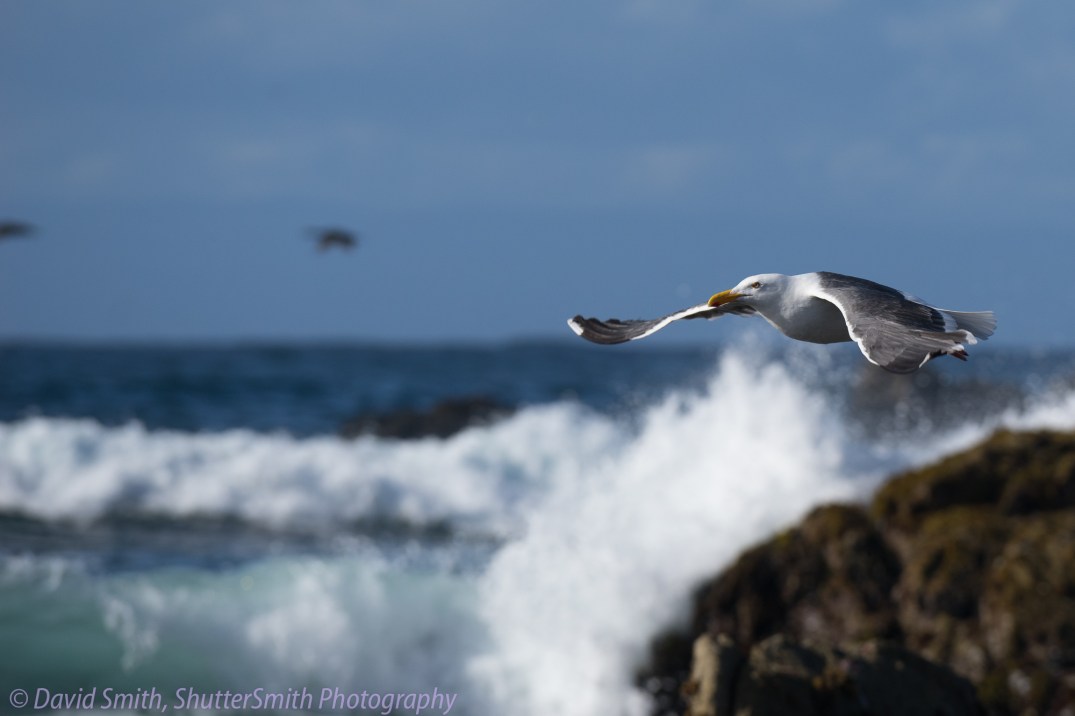
I love this with the breaking wave behind
Birding-08041
Birds near and far

Once I set the auto focus correctly, I was extremely happy with the results.  The camera focused quickly and held the focus on the birds as I followed them through the sky.  Probably a 90% focus hit ratio or higher.  The only real problem I had was what I think was camera shake when the shutter dropped to 1/500th of a second or so.  All shots were at about 200mm.

Considering that there are about about 3 or 4 Sony mirrorless cameras that are better suited for this.  I am very happy with the results.  The only thing

I will be posting these and a few other images in a gallery soon so that you can look at them a little closer.