Removing Unwanted Objects
Sometimes we have pictures where the background has a lot of texture and interest, such as a brick wall. But then we find that somebody put a drain pipe or electrical pipe or an electrical meter in the wrong place. Many times, these distractions aren’t as obvious when we are taking the pictures as they are after we take the picture. Below, you will find an example.

The most recent version of Adobe Photoshop makes the process of editing out these distracting elements, very possible.
The first thing that I will show is the use of ‘Content-Aware Fill’. This worked like magic on the cat dishes, almost criminal. I selected the cat dish in the middle. Then choose the ‘Content-Aware Fill…’ menu item in the edit menu and voila it was done.
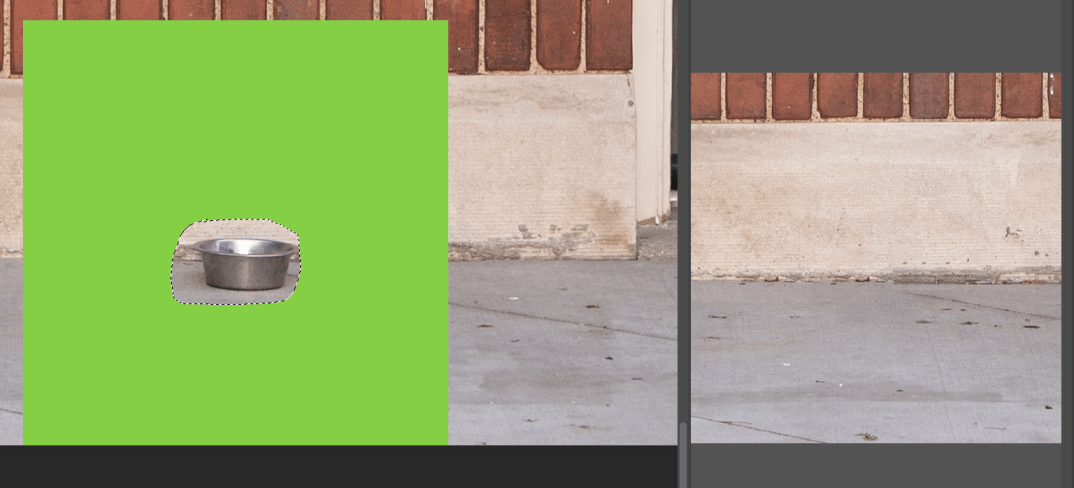
The other three dishes worked in about the same way. The green area that you see on the left is the sampling area that photoshop used to make the fill. The green area can be increased or decreased in size to make the command more accurate. For this dish, the program guessed perfectly.
On the second dish, it didn’t work quite as well. But it was easily fixed with the ‘clone’ tool.

You can see a small glitch just to the left of the boot on the threshold. But, it was very easily fixed with the ‘Clone’ tool.
The third and fourth bowls were removed in a similar fashion.
Now for removing the conduit and electrical meter. This worked reasonably well. Again, it wasn’t perfect, but just a couple minutes with the clone tool and it was fine.

Next we will do the conduit over the door on the right. This started to get a little more difficult. It didn’t work very cleanly within the arch, but ok to the left of the arch. I ended up using the clone tool a lot. This was more tedious, but it resulted in a perfectly good result.
Next goal was to remove the tree branches. The ‘Content-Aware Fill…’ didn’t work very well in the arch area. Just too many variations for it to figure out. I used the clone stamp tool. This was a lengthy, tedious, but effective method. Thankfully, brick work is never exact and a certain amount of variation is to be expected and tolerated.
I accidentally turned this picture into a black and white at one point. I am not usually a big fan of black and white. What do you guys think?


Thanks for reading through this!!
David Smith
