Removing Unwanted Objects

Sometimes we have pictures where the background has a lot of texture and interest, such as a brick wall.  But then we find that somebody put a drain pipe or electrical pipe or an electrical meter in the wrong place.  Many times, these distractions aren’t as obvious when we are taking the pictures as they are after we take the picture.  Below, you will find an example.

wallfix-02280
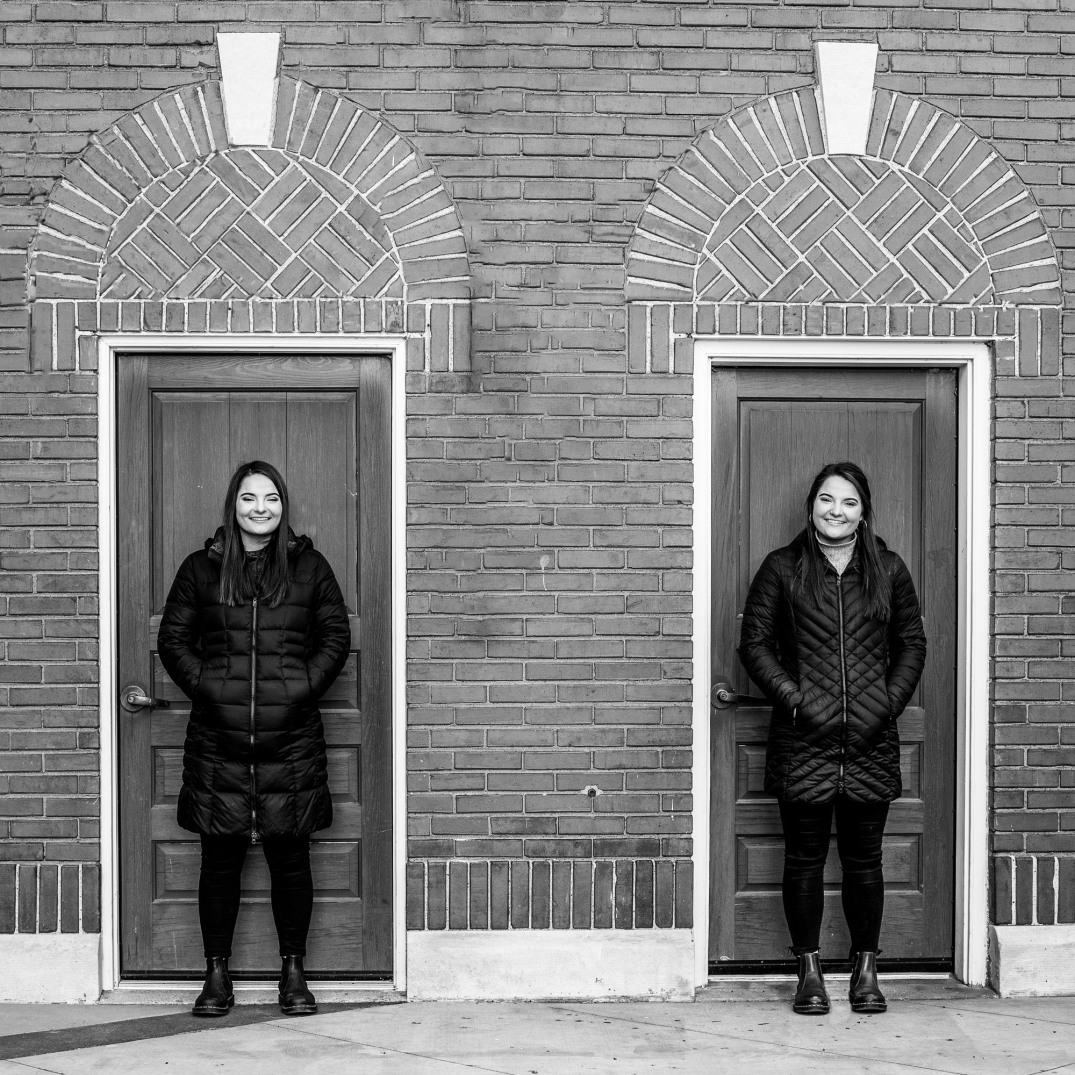
Identical twins in identical doorways!  But, we have electrical conduit, electrical meter and a pesky tree.  Well, yes, the cat dishes as well.

The most recent version of Adobe Photoshop makes the process of editing out these distracting elements, very possible.

The first thing that I will show is the use of ‘Content-Aware Fill’.  This worked like magic on the cat dishes, almost criminal.  I selected the cat dish in the middle.  Then choose the ‘Content-Aware Fill…’ menu item in the edit menu and voila it was done.

catdishremoval
Virtually flawless removal of the disk in a few seconds.

The other three dishes worked in about the same way.  The green area that you see on the left is the sampling area that photoshop used to make the fill.  The green area can be increased or decreased in size to make the command more accurate.  For this dish, the program guessed perfectly.

On the second dish, it didn’t work quite as well.  But it was easily fixed with the ‘clone’ tool.

catdish2removal
I selected the cat dish and selected the ‘Content-Aware Fill…’ menu item.  The sample area had to be modified some because it wanted to put part of the blue shoe into the picture.

You can see a small glitch just to the left of the boot on the threshold.  But, it was very easily fixed with the ‘Clone’ tool.

The third and fourth bowls were removed in a similar fashion.

Now for removing the conduit and electrical meter.  This worked reasonably well.  Again, it wasn’t perfect, but just a couple minutes with the clone tool and it was fine.

meterremoval
The default sample area is in the green.  It did a pretty good job.  It filled in some grey near the arch and it lost or misplaced a couple mortar joints.

Next we will do the conduit over the door on the right.  This started to get a little more difficult.  It didn’t work very cleanly within the arch, but ok to the left of the arch.  I ended up using the clone tool a lot.  This was more tedious, but it resulted in a perfectly good result.

Next goal was to remove the tree branches.  The ‘Content-Aware Fill…’ didn’t work very well in the arch area.  Just too many variations for it to figure out.  I used the clone stamp tool.  This was a lengthy, tedious, but effective method.  Thankfully, brick work is never exact and a certain amount of variation is to be expected and tolerated.

I accidentally turned this picture into a black and white at one point.  I am not usually a big fan of black and white.  What do you guys think?

wallfix-

wallfix--2

Thanks for reading through this!!

David Smith

This fall, I had an opportunity to take some lovely engagement photos of Heather and her fiancé Kori.  We wanted some fall like pictures, because their wedding is next fall.  A week later may have been better to get some fall colors… but their were some conflicts then.  This was actually one of those near record temperature September days, so the long sleeves and sweaters were warm indeed.  My compliments to them for surviving the heat.

I have put some comments below the photos about what I did and why.  Also some comments about what I liked.  Enjoy the reading and let me know what you like or don’t like about the photos.

_DSC4952-12
I used a softbox to fill in the exposure.  We were in the shade and I didn’t want the background to be completely washed out.  this allowed me to create a soft, but well lit subjects with shadow and highlights to build depth.
_DSC4775-1
This picture was taken in the bright sun.  I used the sun as a back light to highlight hair and give dimension to the picture.  Even though the sun was to their back, they were still squinting some.  This surprised me, but I believe it was because they were looking into some brightly sun lit trees.  But it is still a very acceptable picture.
_DSC4907-8
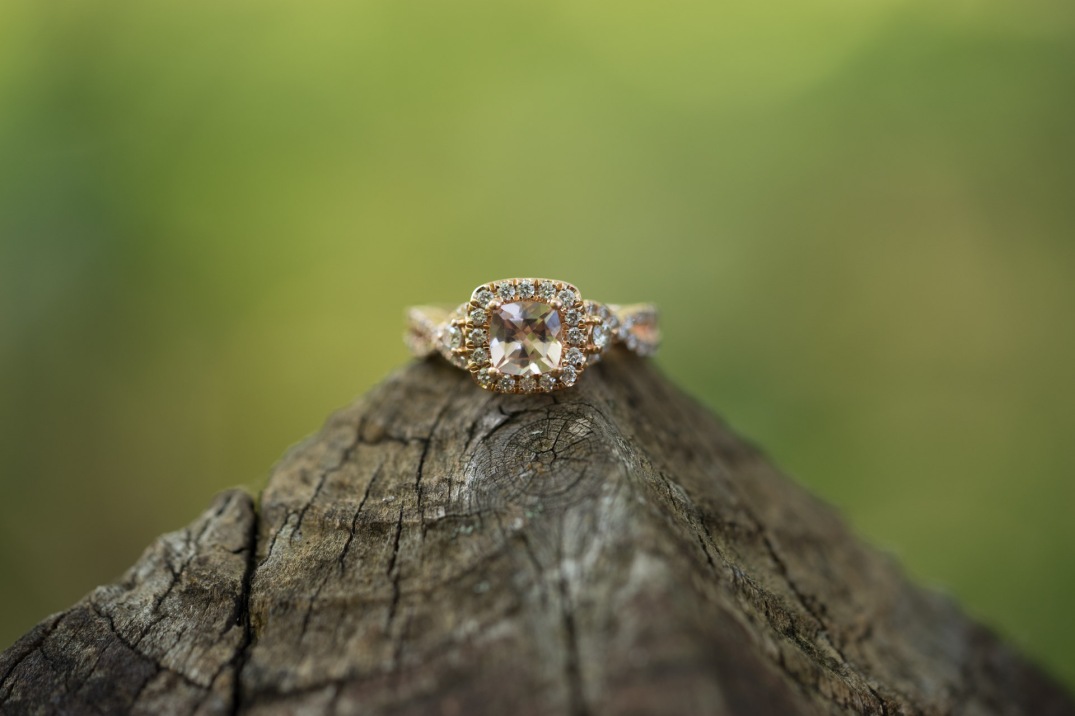
Heather wanted a picture of her beautiful engagement ring.  The edges of the top of this fence post lead our eyes to the ring.  I really like this one.
_DSC4812-2
I was able to capture this playful moment between Heather and Kori.  It was a nice change of pace.
_DSC4856-5
I was able to get a little greenery to frame this shot a little.  Again an off-camera flash in a softbox kept the light soft with some contouring of the face.  This flash also added a catch light in the eyes to bring more attention to the face.
_DSC4932-10
Kori is an avid outdoor sportsman, so we needed a more ‘nature’ shot.  We did have the softbox off to the left in this shot.  It did help with the exposure some, but I believe another third stop or so would have been better.
_DSC4958-13
Heather is sitting on a very small log, but I love their expressions and exposure.
_DSC4899-7
We created a fun motion shot between the two of them.  They definitely had fun while working on this shot.
_DSC4842-4
I loved this cute expression.  They are an adorable couple.
_DSC4864-6
This is the shot that they chose for their “Save the Date” invitation.  The grassy areas provided plenty of space for text.
_DSC4937-11
Another nature environmental shot.  The softbox again was used to illuminate their faces better.
_DSC4918-9
Yes, the hunt is over, I believe that they are both winners!

I wanted to hit a few additional points on why to hire a professional photographer.  As I stated in my last blog, selling faster, for more money, and most of all, for you to provide the best service possible to your clients.  End result, you get more listings.  More money in your pocket, so that you can have a family vacation or give to your favorite charity.

I also want to demonstrate some of the differences in various levels of photography.  I set up a pretty common shot, although in a somewhat difficult lighting condition.  The home is an open concept with a kitchen and dining room behind and to the right of camera.  So I chose this camera angle.

I will look at three levels of skill and equipment.

  • Using a cell phone
  • Using a consumer DSLR and with flash
  • Using a high quality DSLR with a quality lens with flash and advanced Lightroom and Photoshop techniques

Of course there are almost infinite levels between these.

Cell Phone

Here is a picture that I took with my iPhone 6s, using the HDR feature.  The windows are blown out and a lot of bloom, loss of details near the windows.  It doesn’t give the warm and fuzzy to make a person look at the home.

Blog2-1677-2

Pict 1 – iPhone 6s – HDR

Consumer DSLR

In this picture I am using my Full Frame camera which is better than a consumer DSLR cameras, but by a small amount.  I am using the standard kit lens that came with the camera.   I should point out that I used Lightroom to edit this shot and the iPhone shot to get as much detail and proper exposure that is possible.  The bloom and colors are better, also more detail.  But, with the blown out windows, it is still not very inviting.

Blog2-3169

Pict 2 – DSLR with a modified single image.

I also did an HDR image with the DSLR camera, I was able to get a better picture, because of better outside exposure.  But, it was also poorer in some aspects.  I might add, that my HDR work could be improved, but from what I can see, the results aren’t better, and the labor can be higher.

Consumer DSLR and using direct flash

I have seen this technique used in many local area listings.  The problem with direct flash is that it leaves a very flat image.  Flash will increase detail and reduce or eliminate the blown out windows.  But, will leave a cold flat photo.  I did a small amount of Lightroom work to reduce the ‘flashy’ look of the photo, but it is difficult to impossible to make much improvement.  Also notice the shadows of the fan blades.  The unnatural shadows and flatness of the image leaves a less than wow impression.  I also had trouble getting the wall the correct color, which usually doesn’t happen in a direct flash… but it can.  I worked pretty hard to get it close.

Blog2b-3176

Pict 3 – DSLR with direct flash

DSLR, Pro Lens, Flash, and advanced Lightroom and Photoshop techniques.

Let’s first look at what a high quality lens can do.  The lens takes a wider angle which will tend to make the house look bigger, but it also renders the picture better.  Especially around the windows, less bloom (that haze around the windows).  The first picture is with a high quality lens from a single shot.  It was adjusted in Lightroom to taste.  This picture is considerably better from a detail and exposure stand point that the kit lens example in Pict 2 above.  But, it lacks detail, the colors are pretty good, but the windows are distracting.

Blog2-3177

Pict 4 – DSLR with a Pro Lens

Last of all, I will show you a picture of the same scene using a flash and 2 pictures blended together using Lightroom and Photoshop.  You can think of it like this, if you go to a photography studio,  they will use large lights and modifiers in the studio.  If you take a picture outside with this same photographer, it is likely, he will bring along some of the same lights to make the natural light, even better.  Conceptually, I am doing the same thing here.  This picture draws you in more with the natural shadows and highlights which provide that 3D and WOW effect, but with the detail and better color of a flash.  End result, yes, I want to look at this house!!

Blog2-2

Pict 5 – DSLR with a Pro Lens, flash and advanced Lightroom and Photoshop techniques

I hope that you enjoyed this blog.  While the equipment does make a difference, a Professional is thinking every day about what makes a good photo and how to improve his/her work.  Your job as a Realtor is to help your clients sell their home.  Just as there are good reasons for me to hire a realtor, the reasons for you to hire a photographer are just as great.  Check out this gallery for more examples click here.

I know that I said in one of my earlier posts, that part of the reason that I wanted to blog was to help myself grow in my photographic ability, and also as a person.

Well, today is the first test of that.  I was happy with the way Ruby’s photo shoot went, but well, it wasn’t perfect.  So, here is my full honest report.

We took these on one of those days when it was cloudy most of the day, and then turned very sunny in the late afternoon.  Cloudy days can actually be great days for pictures, it is easier to saturate the colors and very seldom do we have nasty shadows to deal with.  So, I had full sun to work with and the show must go on.  But, there are ways to deal with it.

The two images above aren’t sized the same, but you can see the difference between using a flash and not using a flash.  The image on the left isn’t using a flash and the one on the right is.  the flash was off camera above the subject and about 45° from the shooting angle. The flesh tones are more even and you can see Ruby’s eyes better.  But, we still have nice highlights on her hair.  On a larger image you can see the reflection of the flash in her eyes, which adds interest as well.  After taking the pictures too, I like the green grass and purple creeping charlie because it adds color to the photo.  The trees are too close to her hair color… although the sun highlights save it.

But the problem was, since I wanted to shoot wide open… which on this lens is f2.8, I had too shoot 1/500th of a second shutter speed.  This forced the flash to go into HSS mode.  It works, but with a flash that is marginally strong enough to do this… it overheated eventually.RubyAlmostFinal-06847

This picture is nice, but shows some minor effects of the flash.  You can see Ruby’s chin shadow on her neck and the dolls hair shadow is visible as well.  But, you can still see contours on Ruby’s face and clothing, so it isn’t bad.  I switched to a wider angle lens to get some of the purple flowers in front of the subject, which I think worked pretty well.  I probably should have put the beauty dish on the flash to soften the light some which would have been better.  Next time in these conditions I will do that.

The other point, which I was well aware of, is that a major challenge is to get the child or photographic model to relax.  We tried multiple times to get her to relax, but not always as successful as I would have liked.  But, while walking back to the car, I was messing with the camera, trying to figure out if I did something wrong with the flash to cause it to stop working.  But, we told Ruby that we were done.  When we did that she started to act like a child and picked some small white flowers and tried to give them to me.  At this time, I got three of my favorite pictures.  What I find interesting is that I can still see her left eye through the flowers, which to me means that she was interacting with the camera or me… kind of special.

Tequilla Art

About two years ago, we took a very memorable DreamTrip to Nuevo Vallarta, Mexico.  One of the highlights, was a guided tour into the mountains to see

TequillaBrewing 6
Don Lalin

the real Mexico.  In particular, San Sebastián, Jalisco, Mexico.  Just outside of San Sebastián there was a lovely Tequila Hacienda.

It was operated by a man of spanish decent.  It was a joy to see a small operation operated by a delightful man with a strong passion for what he is doing.

We learned that the only real Tequila is made in the Mexican state of Jalisco.  The worm that is often thought of as residing in the bottom of the bottle, is only an imitation to confuse us ignorant americans (I plead guilty).

I have never brewed beer or wine at home, but I did do a research project while in college on the feasibility of farm scale ethanol plants.  The process is basically the same, but with more care in choosing the materials, recipe, and love of the process.

TequillaBrewing 1
Blue Agave Plant

The first step is the harvest of the Blue Agave plant.  They are interested in the bottom part which looks a little like a pineapple.  There are fields of these plants in this area, almost like we see corn in central Iowa.  The ‘pineapple is diced into small sections for better cooking and later for the fermentation process.

Next it has to be cooked.  The cooker is the half dome furnace.  It almost looks like an igloo, but obviously for cooking.  You can see some of the smoke or moisture seeping out through the seams of the block (visible near the top left hand corner).  These joints need to be sealed for the best results.  You can see where he has filled the seams with the darker mud in the picture below.  He was filling the cracks as our tour bus arrived.

TequillaBrewing 3
Sealing the furnace/cooker
Tequilla Distillation-32677
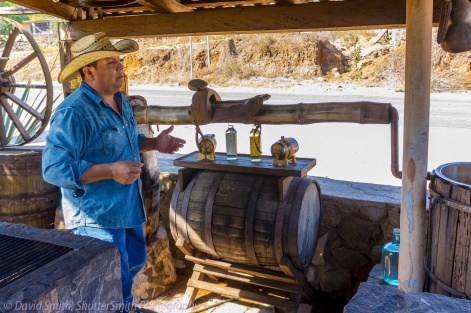
Telling us about distillation and recipes

After it cooks for about 2 days (if my memory is correct), it is put into barrels along with water and yeast to ferment.  When it is done fermenting the solids are removed and the distillation process begins.  The distillation occurs in the piping and furnace behind the operator.  The final product is in the barrel on the right side of the picture above.

At this point we were all waiting for the sampling to begin.  And yes, it was very good and we did bring home some.  Everybody on the tour had a good time and Don Lalin sold significant Tequilla.  Some of the people on the tour also toured the ‘more commercial’ plant in Puerto Vallarta, they said this tour was much more fun and had the craft appeal which is so important today.

TequillaBrewing 7
Our picture with Don Lalin